
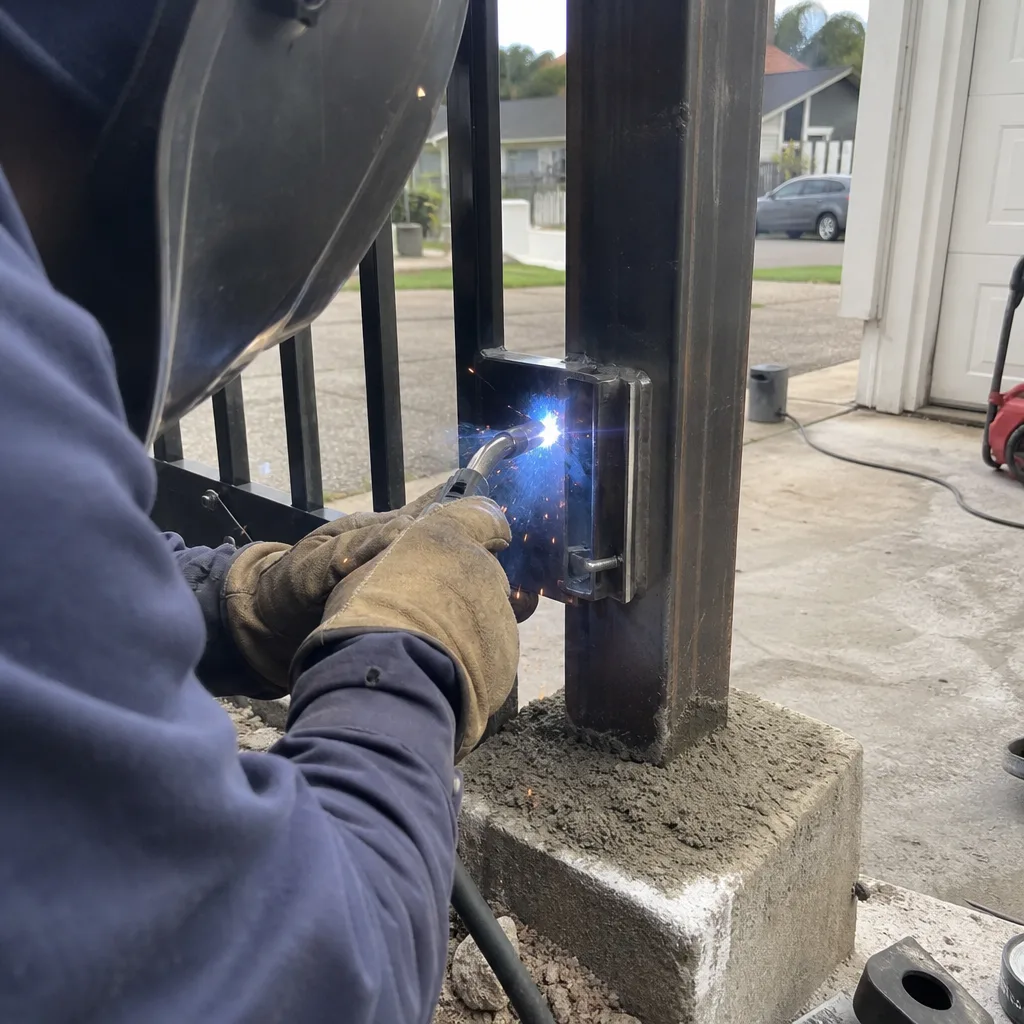
Last updated November 2, 2026
 Wrought iron
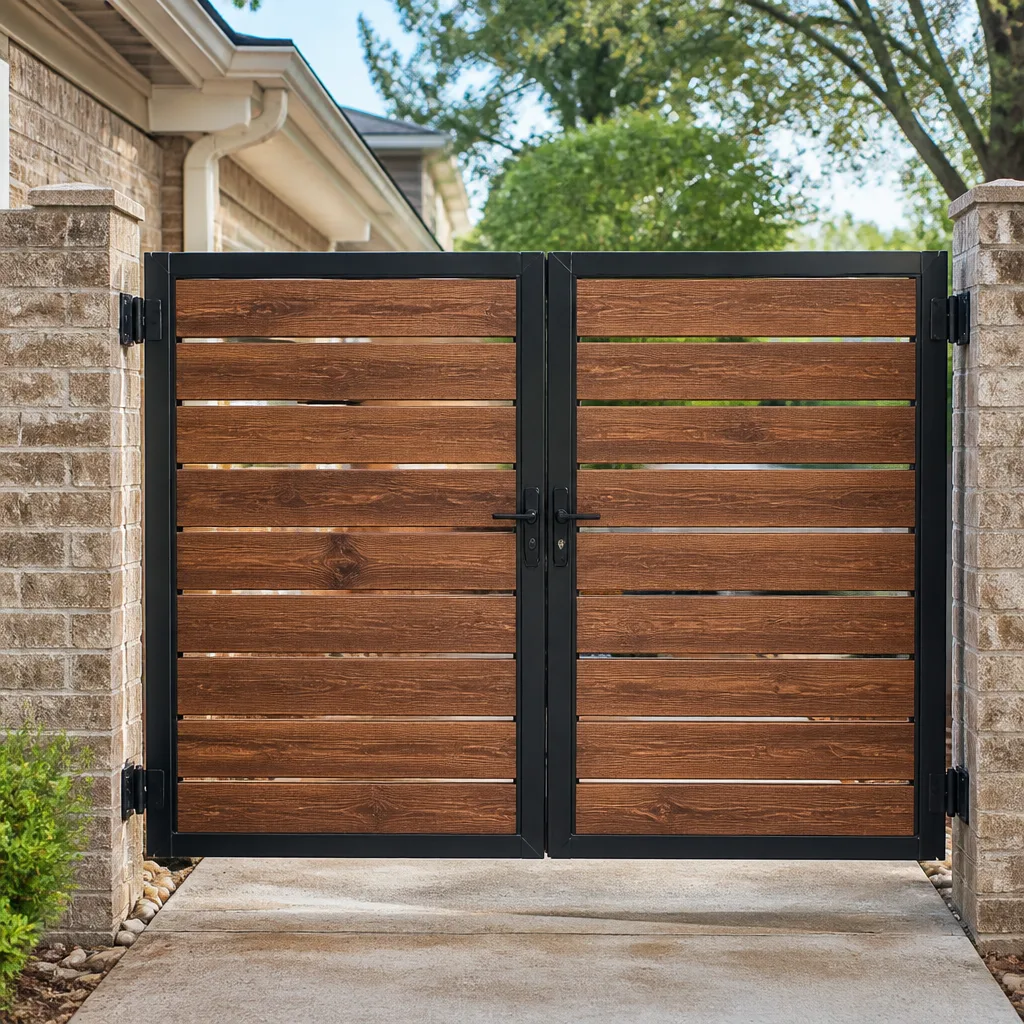 Wood & steel frame
 Farm & ranch
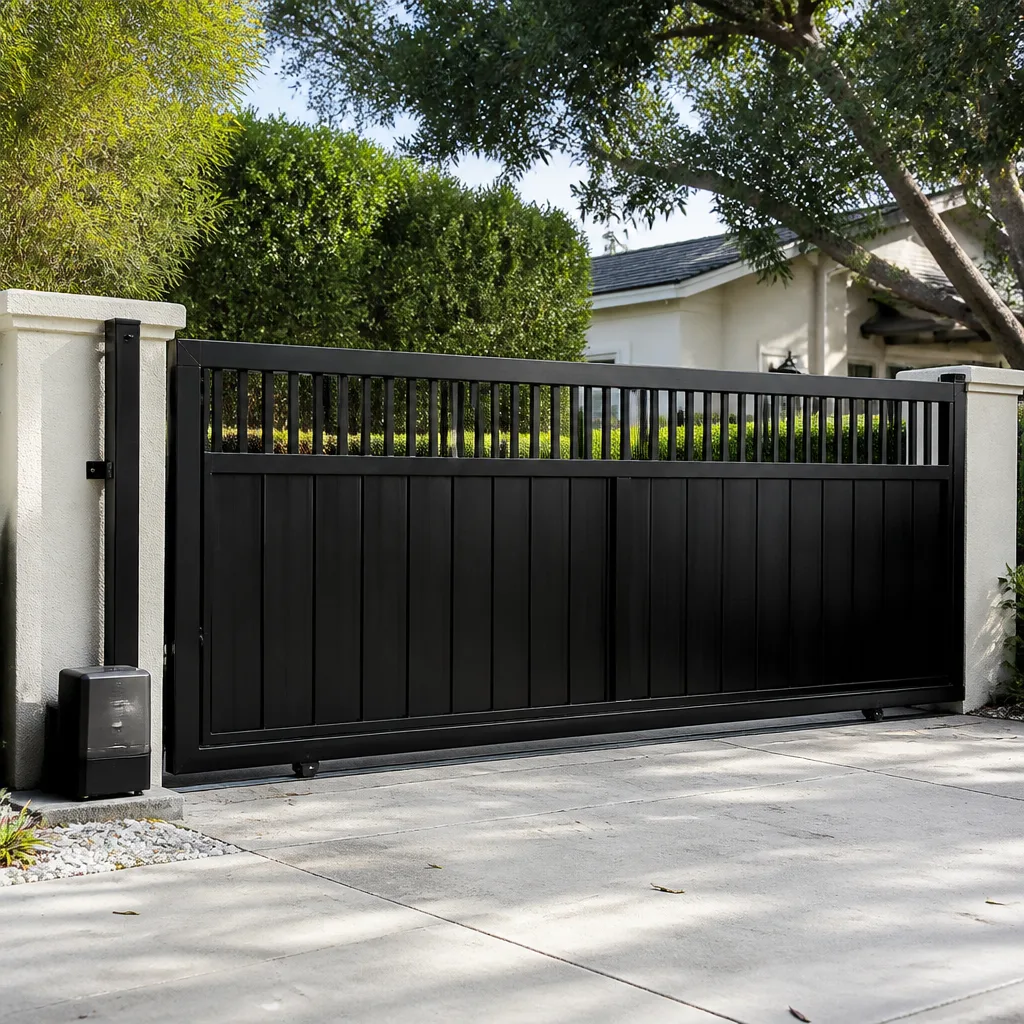 Sliding driveway gates
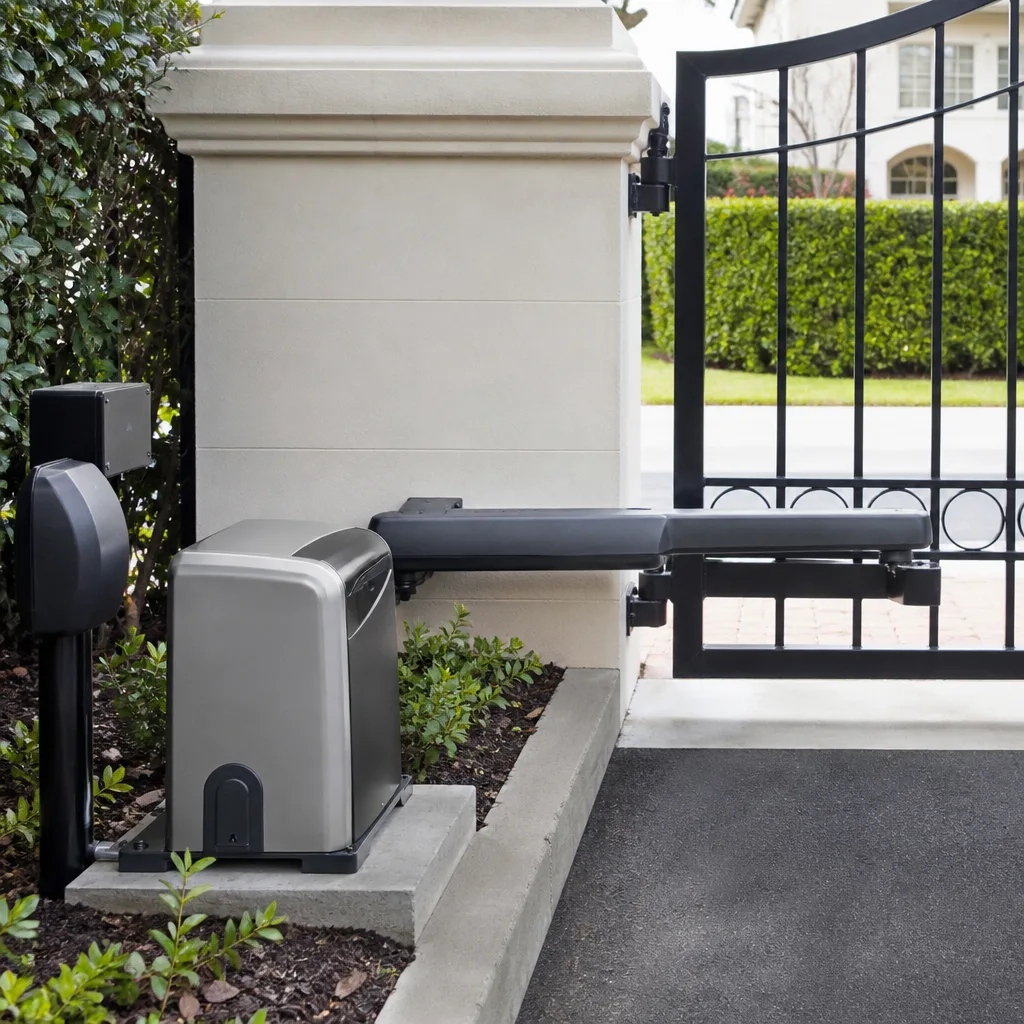 LiftMaster operators
Free on-site gate assessment - hinges, posts, and your LiftMaster or Nice gate operator checked before anything is quoted
The assessment is free and the quote is the invoice.
Get your free estimateGate Repair Troubleshooting: Common Problems and How to Fix Them
A gate that “won’t open” is not a diagnosis. It’s a category of 12 distinct faults, and treating them all the same way is why DIY gate repairs have a high repeat-failure rate. In Bay Terraces, where many homes sit on sloped lots with custom gate spans, we see a specific pattern: homeowners replace a control board when the real problem is a misaligned sensor, or swap a motor when a limit switch had drifted out of adjustment. This guide teaches the same signal-tracing logic our technicians use at Gate Repair Bay Terraces, so you can accurately describe the problem, attempt safe fixes where possible, and avoid paying for parts you don’t actually need. If you’d rather leave it to professionals, explore our Gate Repair services.
You’ll learn how to trace gate failures by observable behavior, test low-voltage components safely with a multimeter, decode brand-specific error codes, and recognize the intermittent warning signs that indicate a total failure is days away. You’ll also learn what to photograph and document before calling a technician, because a good description cuts diagnostic time significantly. For more guides & resources, see our blog.
Styles & brands we work with
- Wrought iron
- Wood & steel frame
- Farm & ranch
- Sliding driveway gates
- LiftMaster operators
Quick Answer
Most gate failures trace to one of four root causes: a power supply problem, a misaligned or blocked safety sensor, a limit switch that’s out of adjustment, or a failing control board. Start by confirming power at the outlet and checking for tripped GFCI breakers, then move to sensor alignment and limit switch testing before replacing any parts. If your gate moves partially, erratically, or intermittently, document the exact behavior and error code if one appears, because these patterns tell a technician far more than “it won’t open.”
Table of Contents
- The Diagnostic Decision Tree: Start With What You Observe
- No Movement at All: Tracing the Power Path
- Partial Movement: When the Gate Starts Then Stops
- Erratic Movement: Intermittent Faults and Why They’re More Serious
- Opens But Won’t Close: Safety Sensor and Limit Switch Logic
- Brand Error Codes: What LiftMaster, FAAC, BFT, and Linear Actually Mean
- Testing Gate Sensors, Limit Switches, and Control Boards With a Multimeter
- What to Document and Photograph Before Calling a Technician
- Common Mistakes to Avoid
- When to Call a Professional
- Frequently Asked Questions
- The Bottom Line
The Diagnostic Decision Tree: Start With What You Observe
Every gate failure presents as one of four observable behaviors. The behavior is your starting branch, and each branch leads to a different set of likely causes. This is how professional gate technicians in Bay Terraces approach a service call, and it’s the same framework you can use from your driveway.
- No movement at all. The gate doesn’t respond to remotes, keypads, or manual controls. No hum, no click, no vibration. This points to power delivery, control board dead conditions, or a tripped breaker.
- Partial movement. The gate starts, moves a few inches or feet, then stops or reverses. This points to obstruction detection, a binding hinge or track, a failing capacitor, or limit switch drift.
- Erratic movement. The gate jerks, hesitates, moves at inconsistent speeds, or behaves differently each cycle. This points to failing motor windings, a corroding wire connection, a dying capacitor, or control board component failure.
- Opens but won’t close. Or closes but won’t open. One direction works, the other doesn’t. This almost always points to safety sensor alignment, a failed safety input, or a directional limit switch that’s no longer registering.
We stress this framework with every client in Bay Terraces because it prevents the single most common DIY mistake: replacing the motor when the problem is actually a $12 limit switch or a tripped outlet. From our perspective as a gate-only, multi-brand shop, seeing the exact behavior before touching anything is the difference between a 20-minute diagnosis and an hour of guesswork.
No Movement at All: Tracing the Power Path
A gate that’s completely dead is the easiest fault to trace if you follow the electrical path in order. It’s also the fault where homeowners most often skip ahead. Before you remove a single cover, work through this sequence.
- Check the outlet or power source. Many gate operators plug into a standard GFCI outlet, often on a dedicated circuit. GFCI breakers trip silently for reasons unrelated to the gate itself, including moisture intrusion, a lightning surge, or a ground fault elsewhere on the same run. Reset the GFCI and test the gate again before assuming the operator failed.
- Check the dedicated breaker. Gate operator circuits are frequently on their own breaker in the main panel. Confirm it hasn’t tripped. If it trips again immediately after reset, stop and call a professional. A repeating short is not a DIY fix and can indicate a dangerous wiring fault.
- Check the operator’s power switch. Many operators including LiftMaster and Linear models have a power switch on the side of the control board enclosure. If someone nudged it or a power surge tripped internal protection, the switch may be off.
- Test the battery backup if equipped. Some Bay Terraces installations include a battery backup, especially on slide gates where a power outage blocks vehicle access. Battery backups fail slowly, and a totally dead battery can prevent the operator from running even when AC power is present. Check for a battery status LED or test voltage at the battery terminals.
- Look for visible burn marks, swollen capacitors, or melted wire insulation. At this stage, with power confirmed, a visual inspection of the control board reveals a lot. A swollen electrolytic capacitor or a scorched relay is a definitive board fault.
Safety note: You can safely perform these checks without removing the control board. Once you open the operator enclosure, the control board contains high-voltage AC terminals. Do not touch any wire inside the enclosure while the power is connected. If the problem isn’t resolved by these external checks, call a professional. We handle dead operators across all nine brands we service, including Viking and DoorKing commercial units that run on 115V or 208V lines where the stakes are higher than a residential swing gate.
For Bay Terraces specifically, the coastal air in this neighborhood accelerates corrosion on power connections inside operator enclosures. We regularly see dead gates here that are traced to a green, corroded neutral wire or a ground lug that has oxidized through. This is a climate-specific failure pattern that generalist contractors often miss.
Partial Movement: When the Gate Starts Then Stops
A gate that travels a short distance and then reverses or stops is telling you the control board thinks something is obstructing the path, or the mechanical load has exceeded the operator’s parameters. This is one of the most misdiagnosed gate symptoms, because a mechanical bind and a sensor fault can look identical from outside.
Here’s how to isolate the cause:
- Disengage the operator. Most operators including Mighty Mule and Ghost Controls models have a manual release lever or handle. Disengage the motor and push the gate by hand along its full travel. If the gate is heavy, stiff, or binds at a specific point, the problem is mechanical, not electrical. On Bay Terraces hillside lots, gate posts settle over time, and a gate that traveled freely five years ago can develop a bind that trips the operator’s obstruction sensing.
- Check the track for debris. Slide gates accumulate leaves, gravel, and mud in the track. A small stone is enough to trigger an obstruction sensor on a gear-driven slide operator. Clear the track completely and test again.
- Inspect hinges and rollers. Swing gates develop wear at the hinge pins and the gate leaf can sag. A sagging gate drags on the ground or on the latch post, increasing the load on the motor. Roller wheels on slide gates flatten over time, creating a hard spot in the travel.
- Check the capacitor if equipped. AC operator motors use start and run capacitors. A failing run capacitor delivers reduced torque, which means the gate starts strong but loses power as the motor loads up. This presents as partial travel that gets shorter and shorter over weeks.
If the gate moves freely by hand but stalls under power, the fault is typically in the operator: capacitor, motor windings, or control board current sensing. If the gate binds by hand, the operator is doing its job protecting itself.
In Bay Terraces, partial movement complaints spike after heavy rain. Wooden gate leaves absorb moisture and gain weight. Metal gates on concrete posts shift slightly when the soil expands. We tell our clients to retest the gate 48 hours after a storm dries before assuming a mechanical or electrical fault, because a wet, heavy gate will trip the obstruction sensing on many operators.
Erratic Movement: Intermittent Faults and Why They’re More Serious
An intermittently working gate is more concerning than one that’s fully stopped, and we treat it that way across every service call in Bay Terraces. Learn to spot trouble early with Gate Repair Warning Signs: A Bay Terraces Homeowner’s Reference Guide. A gate that’s dead is stable. A gate that works sometimes is failing unpredictably, and unpredictable gate behavior is a safety hazard.
Intermittent faults fall into patterns. Recognizing the pattern narrows the cause dramatically:
- Works in the morning, fails in the afternoon. Thermal expansion. As ambient temperature rises, solder joints flex, relay contacts separate, or a board component fails under heat. In Bay Terraces, afternoon sun on a dark metal operator enclosure can push internal temperatures over 140°F. This pattern points to a failing control board or relay.
- Works after rain, fails when dry. Or the inverse. This points to a ground fault or a moisture-dependent connection issue. A loose ground wire may make contact when humid but lose contact when dry.
- Works from the remote, not from the keypad. Or vice versa. This isolates the fault to the input device or its receiver channel, not the operator itself. A Ghost Controls remote that works intermittently may have a dying battery or a receiver module that’s drifting off frequency.
- Works after you push the gate manually, then stops again. A commutator brush or an armature position issue in the motor. The motor stalls at certain rotational positions and needs an external nudge to get past the dead spot.
The most serious intermittent pattern is a gate that reverses without reason, stops mid-travel and restarts, or opens on its own. These can indicate a failing safety input circuit, and a gate that no longer reliably detects obstructions is dangerous. We advise Bay Terraces homeowners with small children or pets to disable an intermittently acting gate and call for service immediately rather than wait for the fault to become a permanent failure.
Document the pattern. When did it work? When did it fail? What was the weather? Which input was used? This information is diagnostic gold and it’s exactly what we ask on a service call.
Opens But Won’t Close: Safety Sensor and Limit Switch Logic
A gate that opens reliably but refuses to close, or closes but won’t open, is almost always a sensor or limit switch issue. The control board is receiving a signal that prevents travel in one direction, and the control board is obeying its own safety logic.
For a gate that opens but won’t close:
- Photo eye alignment. The safety photo eyes on either side of the gate opening must maintain line of sight for the close direction. If a photo eye is knocked out of alignment, the board sees an open beam and interprets it as an obstruction. Clean the lenses, then align the sensors by adjusting their brackets until the alignment LED on the receiver turns solid. This is the single most common cause of a gate that won’t close.
- Sunlight interference. Bay Terraces gets strong westerly sun in the late afternoon. Direct sunlight into a photo eye receiver can blind it, and the board interprets a blinded receiver as an obstruction. Installing sun shields or repositioning the receiver is a standard fix we perform in this neighborhood.
- Close limit switch failure. The open limit switch works, so the gate opens and stops at the correct point. The close limit switch has failed or drifted, so the board doesn’t know when to stop the close cycle and refuses to start it. On FAAC, BFT, and Linear operators, limit switches are mechanical or magnetic and are mounted on the operator base or the gate track.
- Safety loop detector fault. Vehicle loop detectors wired into the close circuit tell the board whether a car is present in the gate path. A failing loop detector or a cut loop wire can prevent the close command entirely. Slide gates in Bay Terraces driveways often have loops, and a dead loop is invisible unless you know to test for it.
A gate that closes but won’t open points to the open limit switch, a failed radio receiver input, or a keypad issue. Disconnect the input devices one at a time and test the manual open button. If the gate opens from the manual button but not the remote, the receiver is the fault. If the gate won’t open from any input, the open limit switch is the likely culprit.
Brand Error Codes: What LiftMaster, FAAC, BFT, and Linear Actually Mean
Most modern gate operators flash diagnostic codes through an LED or display on the control board. The codes are brand-specific, and a code that means “obstruction detected” on a LiftMaster means something different on a BFT. Here are the codes we see most often in Bay Terraces, translated into plain language.
LiftMaster and Chamberlain gate operators:
- 1 flash: No RPM signal from the motor sensor. The board isn’t seeing the motor turn, which can mean a dead motor, a disconnected motor harness, or a failed RPM sensor.
- 2 flashes: Obstruction detected during travel. Either the gate hit something physical or the current sensing tripped because the gate is binding.
- 3 flashes: Force reversal. Same as 2 flashes but indicates repeated obstruction events, often from a mechanical bind or a failing capacitor.
- 4 flashes: Safety input fault. The board sees an open photo eye or a failed safety device wired into the input.
- 5 flashes: Limit switch error. A limit switch is not registering, or the board is receiving conflicting limit signals.
FAAC operators:
- E1: Motor thermal protection tripped. The motor overheated, usually from repeated cycles or a binding gate.
- E2: Encoder fault. The board isn’t receiving position feedback from the motor encoder.
- E5: Safety edge or photo beam activated. Check sensor alignment and wiring.
- E7: Control board memory error. The board’s settings have corrupted and it needs a factory reset or board replacement.
BFT operators:
- Photocell (PHOT): The photo beam is blocked or misaligned. BFT displays this as a text code on the control board LCD.
- Limit switch (FCC): The close limit switch is not registering. On BFT hydraulic operators this is often a stuck microswitch.
- Torque (COP): The operator exceeded its torque setting, meaning the gate is binding or the force setting is too low.
Linear operators:
- 2 blinks: Obstruction or force reversal. Check the gate path and mechanical condition.
- 3 blinks: Photo eye failure or misalignment.
- 4 blinks: Limit switch activation in the wrong sequence. The board sees the close limit when it expects the open limit.
- 5 blinks: Motor relay failure. A relay on the board is welded or not making contact.
We work with all nine major gate and operator brands, including the DoorKing and Viking systems that dominate commercial properties in the Bay Terraces area. DoorKing’s LCD diagnostics and Viking’s relay-based logic boards require brand-specific interpretation, and a generic “error code” guide doesn’t cover their display formats. That’s why our technicians carry brand-specific diagnostic charts rather than a single one-size-fits-all reference.
If you see a code flash, write it down. The exact sequence and number of flashes is more useful to a technician than any verbal description. A blurry photo of a flashing LED through the enclosure is less useful than a simple note that says “3 flashes, pause, 3 flashes.”
Testing Gate Sensors, Limit Switches, and Control Boards With a Multimeter
A basic digital multimeter is the single most useful diagnostic tool for gate troubleshooting, and you can test the low-voltage components without ever touching high-voltage wiring. This section covers what’s safe to test and what to leave alone.
Safety rule that boundaries this section: You can safely test low-voltage DC circuits: sensor wires, limit switch contacts, and battery terminals. Do not test AC line voltage, capacitor terminals, or motor winding leads unless you are a trained technician. Capacitors store lethal charge even when the operator is unplugged. The high-voltage section of a gate operator is inside the enclosure and is clearly separated from the low-voltage control section. Respect that boundary.
Testing a limit switch:
- Disconnect the operator from power. Do not just turn off the switch; unplug it or throw the breaker.
- Set the multimeter to continuity or resistance (Ω).
- Locate the limit switch wiring at the control board terminals. The limit switch terminals are labeled LIMIT, OPEN, CLOSE, or similar.
- Remove one wire from the limit switch terminal.
- Probe across the two limit switch wires while manually operating the switch. A mechanical limit switch should show continuity when the lever is pressed and infinite resistance when released, or the reverse depending on the switch type.
- If the reading never changes, the switch is welded or broken.
Testing a photo eye or safety sensor:
- With the operator powered and the gate stationary, observe the receiver LED. A solid LED indicates a clean beam. A blinking LED indicates misalignment or blockage.
- If the LED is out entirely, set the multimeter to DC voltage and probe the sensor’s power terminals. Most photo eyes run on 12 – 24V DC. No voltage at the sensor means the problem is upstream, not in the sensor itself.
- With the beam aligned, check the signal output terminal. Most sensors output a switched signal that changes state when the beam is broken. If the signal doesn’t change when you block the beam, the sensor is dead.
Testing a control board for obvious failure:
- Look for bulging or leaking electrolytic capacitors. A capacitor that’s domed on top has failed.
- Look for scorch marks around relay sockets or terminal blocks. Burned terminals indicate a short or a loose connection that’s been arcing.
- Look for water intrusion. Bay Terraces operators that sit close to irrigated landscaping show board corrosion at the bottom edge where moisture wicks up through the enclosure.
Control boards are rarely repairable at a component level in the field. If the board shows visible damage, it’s a replacement. But many boards fail internally without visible signs, and that’s where experience matters. Our Bay Terraces diagnostic process includes testing voltages at the board’s test points where the manufacturer provides them, which requires board-specific knowledge, particularly on the Ghost Controls and Viking models we service.
What to Document and Photograph Before Calling a Technician
A good service call starts with good information. When you call Gate Repair Bay Terraces about a gate problem, here’s what actually helps us diagnose before we arrive:
- The brand and model of your operator. This is on a label inside the operator enclosure or on the back of the remote. Knowing whether you have a LiftMaster LA500 or a Ghost Controls AXP1 changes the diagnostic playbook before we leave the shop. We service all nine major brands, but brand-specific diagnosis means knowing the brand up front.
- The exact behavior, in sequence. Not “it doesn’t work.” Tell us: “It opens fully from the keypad but won’t close from the remote, and the receiver LED blinks once when I press the button.” That statement has already narrowed the fault to the receiver or close circuit.
- Any error codes. If the board has a flashing LED or a display showing a code, write down the sequence and count. For BFT operators with an LCD, photograph the screen.
- Photographs of the gate in its failed position. A photo that shows whether the gate traveled three inches or three feet before stopping tells us whether it’s a limit switch, an obstruction sensor, or a capacitor issue.
- The gate type and approximate weight. Is it a wooden swing gate or a steel slide gate? Single or double leaf? A rough idea of dimensions helps, especially for Bay Terraces custom gates that are often non-standard widths.
- When it last worked correctly and what changed. Did landscapers work near the gate? Was there a power outage? Has it rained recently? The timeline of failure is as diagnostic as the symptoms themselves.
The goal is to reduce the time a technician spends asking questions on site and increase the time they spend testing components. A homeowner who says “the gate stopped after the storm, there’s a 3-flash code, and it moves two feet before reversing” gives us enough information to arrive with the right test equipment and likely replacement parts.
Common Mistakes to Avoid
- Replacing the motor before testing anything else. Motors are the most expensive component and the least likely to be the actual failure. Limit switches, capacitors, sensors, and boards all fail more frequently. Replace the part that tests bad, not the part that seems important.
- Adjusting limit switches without marking the original position. Once you turn an adjustment screw, you’ve lost the original calibration. If the adjustment doesn’t fix the problem, you now have a second problem. Mark positions with a permanent marker before adjusting.
- Ignoring an intermittent fault because the gate is working now. An intermittent fault is a failure in progress. It will return, often at the least convenient time, and the cause may worsen into a more expensive repair. Document it now and schedule a service call while the gate is still operating enough to test.
- Testing high-voltage circuits without training. Gate operators contain 115V or 208V AC power that can kill. The control board and high-voltage side are inside the same enclosure. If you’re not certain which is which, stop before you open the enclosure.
- Replacing a control board without fixing the root cause. A failed board is often a symptom, not a cause. A board that failed due to water intrusion will fail again if the enclosure leak isn’t fixed. In Bay Terraces, irrigation overspray and coastal moisture are common sources of water intrusion, and we always address the enclosure seal when we replace a board.
- Using aftermarket parts from online sellers without verifying compatibility. A “universal” limit switch or an aftermarket capacitor may not match your operator’s specifications. OEM-compatible parts matter, and that’s a core part of how we build rework-free repairs.
When to Call a Professional
Call a professional when the gate is dead and the breaker trips repeatedly, when the gate is showing an error code you can’t interpret, when you’ve eliminated sensors and limit switches but the gate still refuses to operate, or when the gate is behaving unpredictably and you have children or pets on the property. And call if you simply don’t want to work through the diagnostic process yourself – How to Hire a Gate Repair Contractor in Bay Terraces: A Step-by-Step Guide can help you choose the right pro. Gate troubleshooting is systematic, and the system requires time and attention.
Gate Repair Bay Terraces offers free estimates in Bay Terraces. Call (877) 573-0794 and describe what you’re seeing. We service all nine major brands, including Linear, Viking, Ghost Controls, and DoorKing, and we’ll tell you honestly whether the fix is a phone-guided adjustment or a scheduled service call. If your gate is beyond repair, our Gate Installation in Bay Terraces team can quote a replacement while we’re there, saving you a separate visit.
Frequently Asked Questions
Gate repair pricing in Bay Terraces depends on the fault, the brand of operator, and whether parts are required, but a diagnostic service call is the right place to start because it identifies the exact fault before any work is quoted. Call (877) 573-0794 and describe your symptoms, and we’ll give you a realistic expectation before anyone drives out. Estimates are free, and the price is always quoted and agreed before any work starts.
A gate that opens but won’t close is almost always caused by a misaligned photo eye, a failed close limit switch, or a safety loop that’s signaling a false obstruction. Start by cleaning and aligning the photo eye lenses, then look for a blinking LED or error code on the control board. If the problem persists, call Gate Repair Bay Terraces for a diagnostic visit.
Many gate repairs can be completed the same day as the diagnostic visit, especially common faults like sensor alignment, limit switch adjustment, and capacitor replacement. The availability of specific brand parts is the usual variable. We carry the most frequently needed components for the nine brands we service, including Viking and DoorKing parts that are otherwise special-order.
An intermittently working gate is showing an early-stage failure, most often in the control board, a relay, a capacitor, or a loose connection. The pattern of the intermittency points to the cause, so document when it fails and what input you were using. Intermittent faults become permanent failures, so schedule service before the gate stops working entirely.
We service operators from LiftMaster, FAAC, BFT, Linear, Viking, Ghost Controls, DoorKing, Elite, and Mighty Mule. That covers the overwhelming majority of residential and commercial gate operators in Bay Terraces, from entry-level residential swing gates to commercial slide systems. We’re a gate-only company, so gate operators are not a side service, they’re the entire service.
Before calling, check that the operator is getting power at the outlet, that the breaker hasn’t tripped, and that the operator’s power switch is on. If the gate moves partially, disengage the operator and check whether the gate binds by hand. Note any error codes or LED flashes. This information speeds up diagnosis and reduces service call time.
The Bottom Line
Gate troubleshooting is a process of elimination, not a guessing game. Start with the observable behavior, test the power path, isolate whether the problem is mechanical or electrical, and document everything before you touch a component. The most common gate failures in Bay Terraces are photo eye misalignment, limit switch drift, failed capacitors, and water intrusion into operator enclosures. None of those require a motor replacement. A systematic approach saves you money on the repair and prevents repeat failures from parts that were never the problem in the first place. When you hit the limit of what you can diagnose safely, call Gate Repair Bay Terraces at (877) 573-0794. We service every major brand, we’re a gate-only company, and we’ll tell you the truth about your gate, whether that’s a simple fix or a replacement recommendation.
Written by the team at Gate Repair Bay Terraces, serving Bay Terraces since 2018.
See the difference
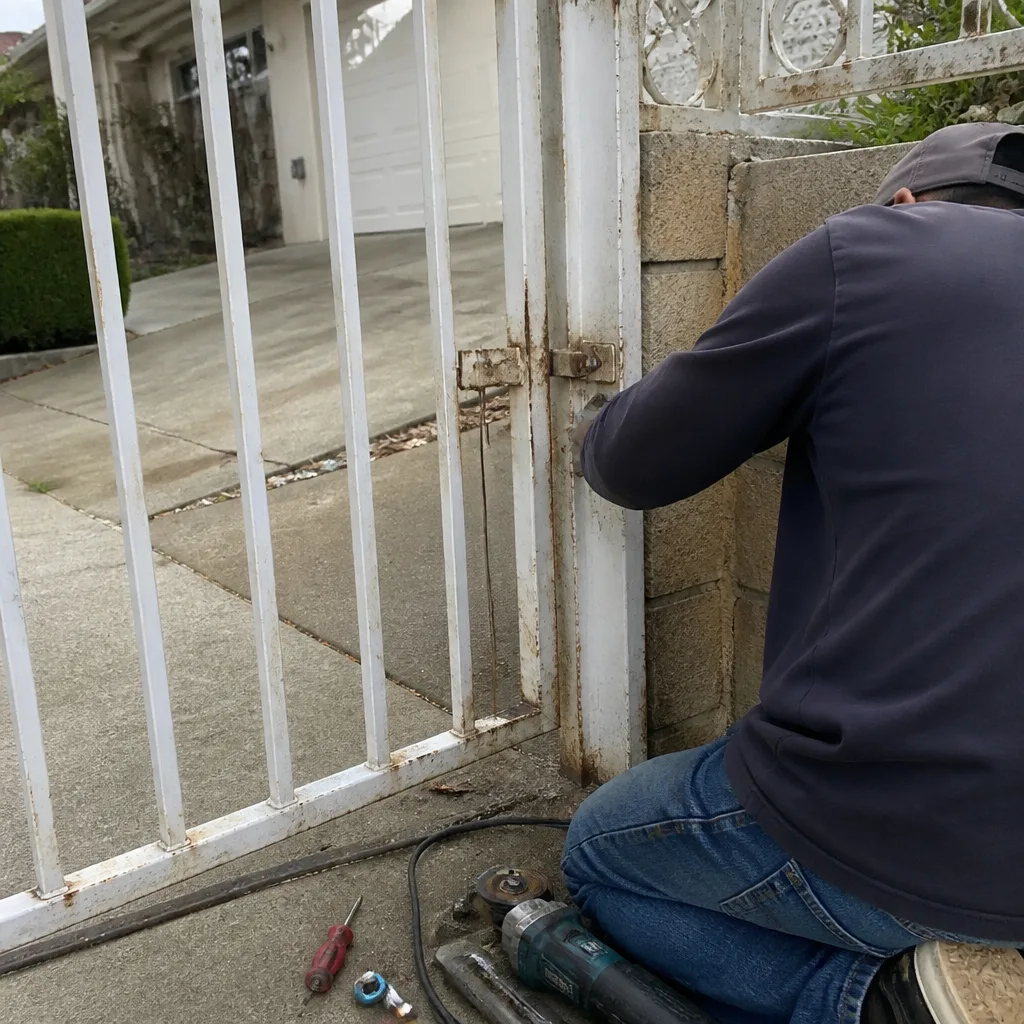
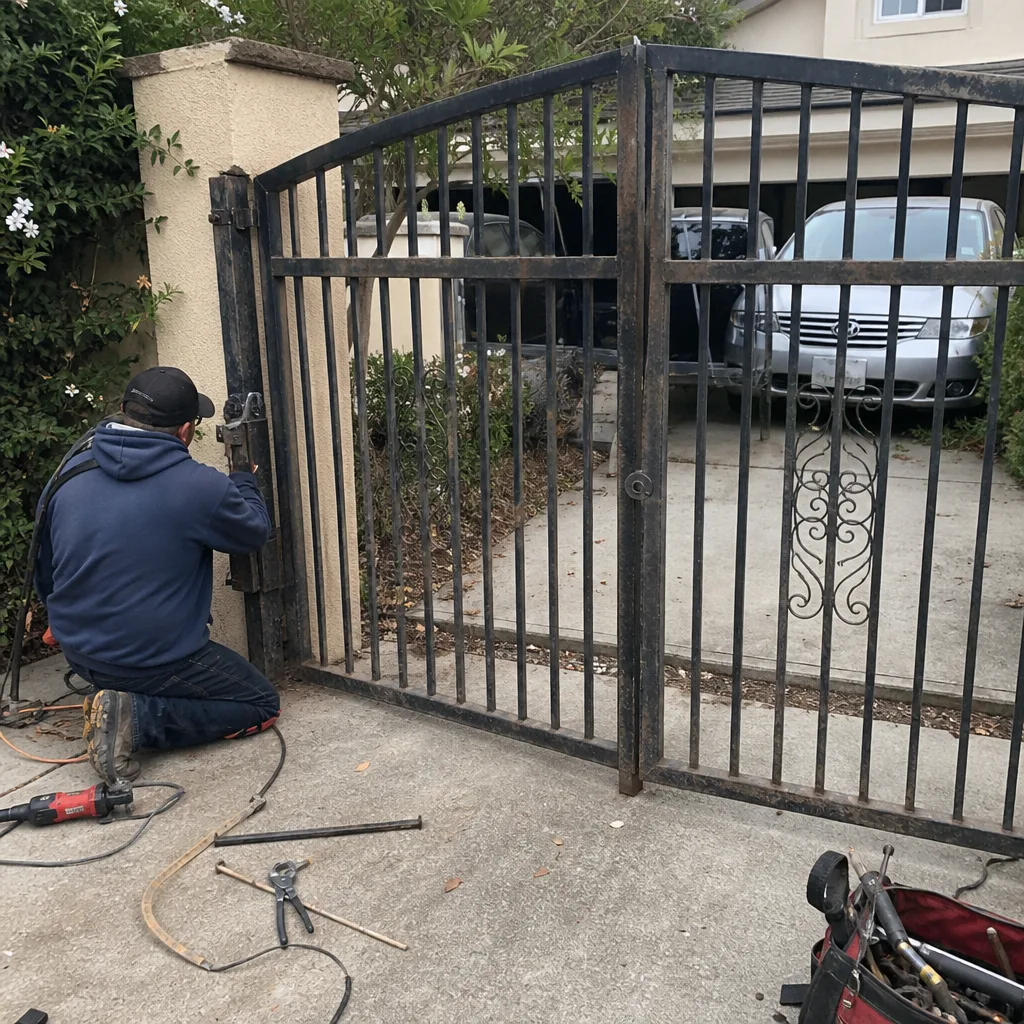 Before
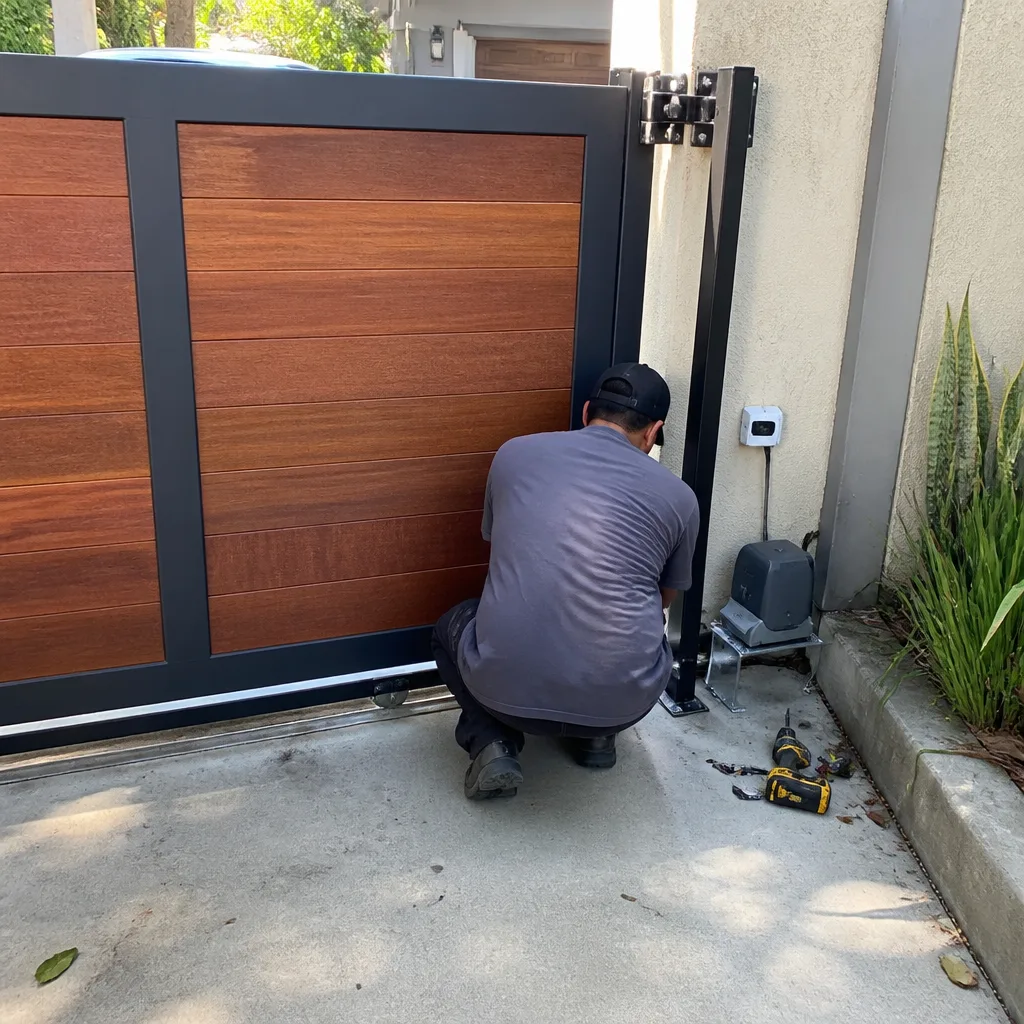
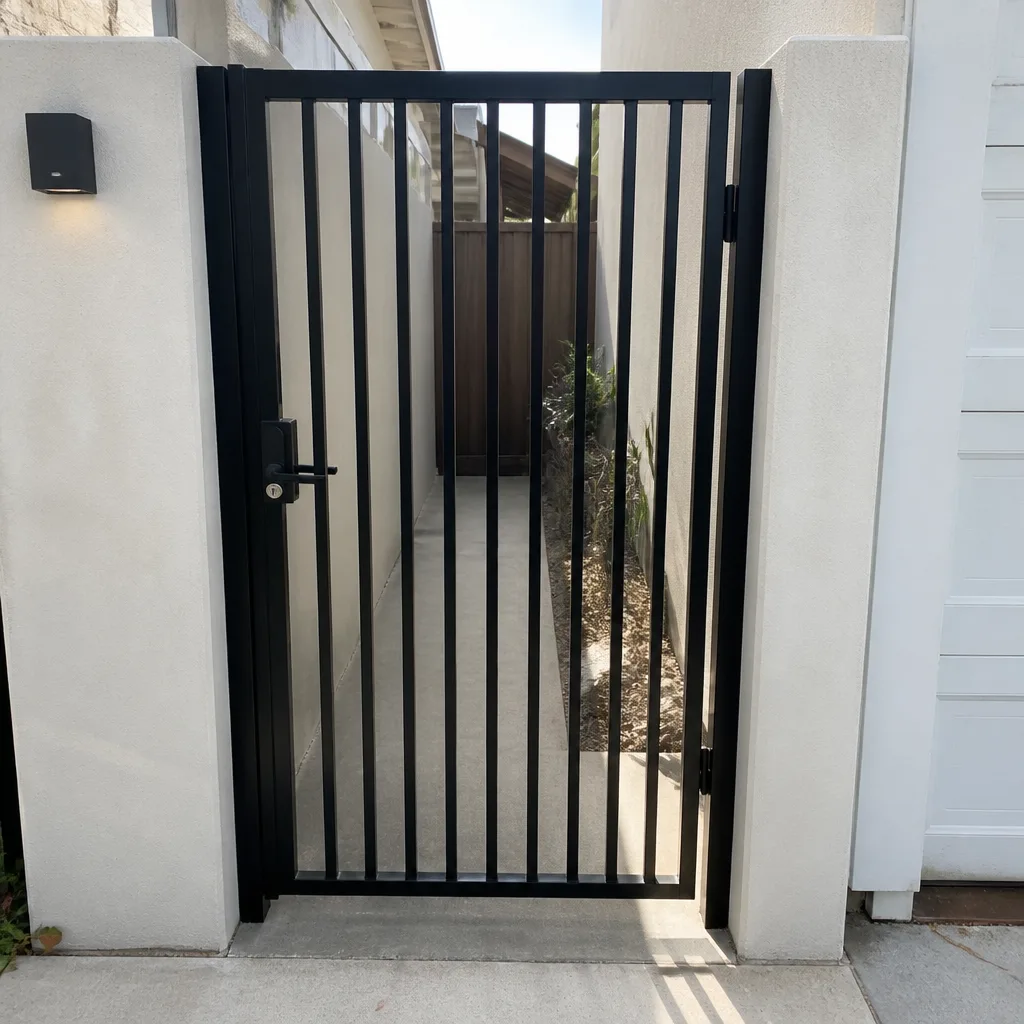 After
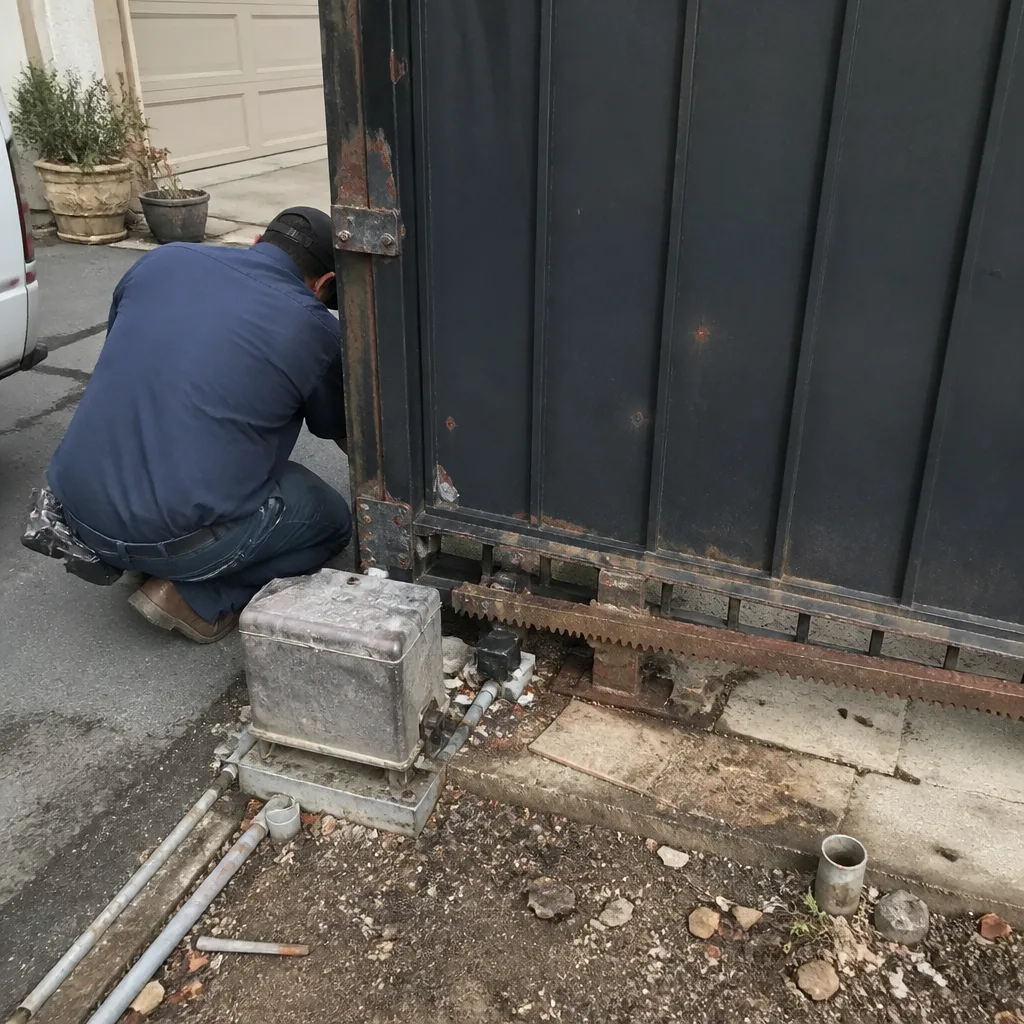 Before
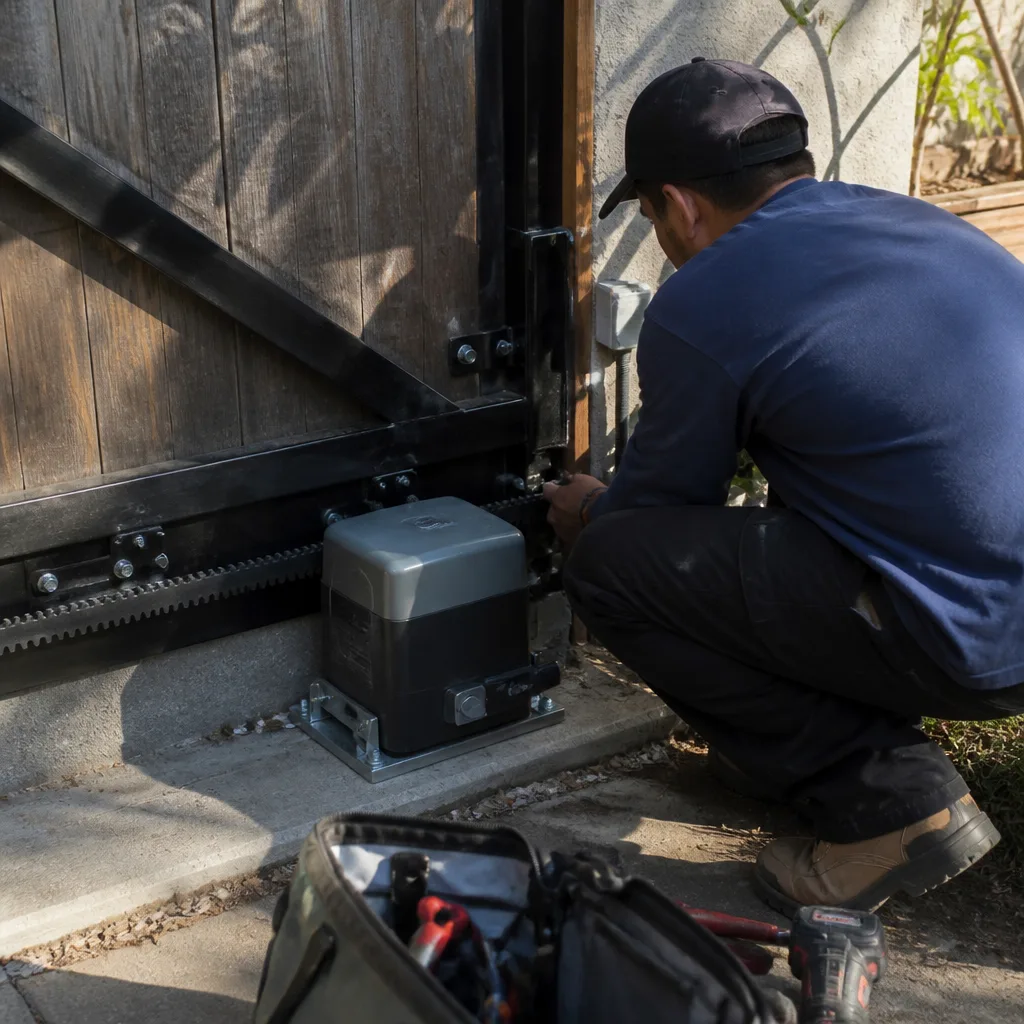 After
 Before
 After